

What pinning actually does
Your GitHub profile is often the first thing a collaborator, recruiter, or potential co-founder sees.
The pinned section sits near the top of that page, so what you pin shapes the first impression more than almost anything else.
This guide walks through the exact steps to pin repositories, how to reorder them, and how to choose which work deserves the spotlight.
By default, GitHub shows a “Popular repositories” section on your profile, listing the repositories with the most watchers.
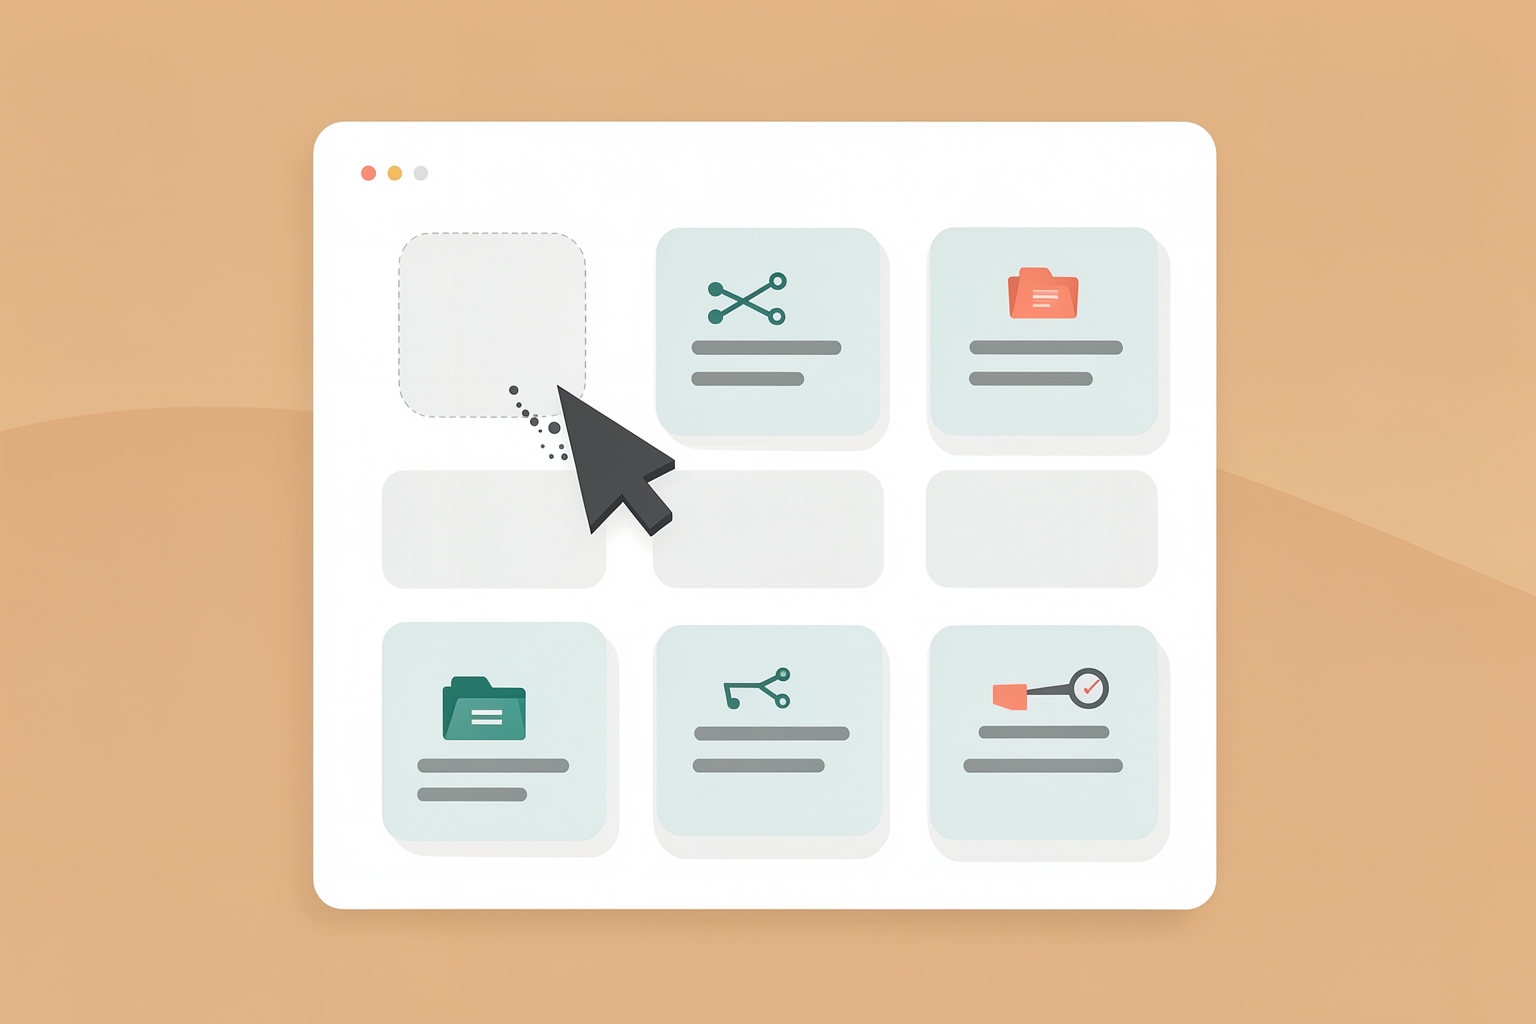
Once you pin items, that section changes to “Pinned” and displays up to six public repositories or gists you choose, with key details shown for each.
GitHub's contribution documentation describes this switch.
Instead of letting a watcher count decide what visitors see, you take editorial control.
Pinned items are one of several customizable profile elements, alongside your profile README, personal info, contribution activity, status, and achievements.
GitHub's profile overview lists pinned items among the key elements you can shape.
That is why pinning is usually the fastest meaningful upgrade to a profile.
The exact steps to pin repositories
Here is the documented process, straight from GitHub’s pinning guide:
- In the top right corner of GitHub, click your profile picture, then click Your profile .
- At the top of the “Popular repositories” or “Pinned” section, click Customize your pins .
- Optionally, next to “Show”, select or deselect Repositories and Gists to change which items appear in the searchable list.
- Optionally, use the “Filter repositories and gists” field to type the name of a user, organization, repository, or gist, which makes it easier to find a specific item.
- Select up to six repositories and gists, combined.